
So I thought I'd whip up this tutorial about how to make patches.
Curtesy to my international readers I'll write this in English, so if you have any questions, feel free to ask.
Try as much as you like, some things just won't let you hoop them. Others can be hooped but don't take kindly to the design you want to put on them. But don't despair, there's a solution. Just patch it up.
Some sites like Emblibrary offer designs that were especially designed for patches, but with some tricks you can use a lot of other designs.
Easiest to use are normal applique designs. They've already been designed to be attached to something else. There's only one condition: There has to be a solid line of satin stiches around the design.
Here's the example form EL we're going to use for our tutorial:

Usually, applique designs come in two files: an actual embroidery file and a file that starts with "DL", the dieline. If you have embroidery software, you can just print it out. If not, load the design into your machine, hoop a piece of paper and embroider the dieline onto the paper. Cut the shape out as a template.
Now, if you're using a heavy fabric you can just skip the next step, but if you're using a light fabric like I'm doing now, you'll want some good cut away stabilizer.
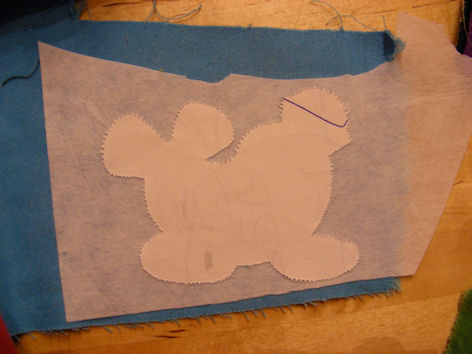
Spray your stabilizer lightly with temporary spray adhesive and smooth your fabric on top. do the same with your template. I prefer to spray the top of my template and stick it on the stabilizer so I have a cute little stabilizer sandwich.
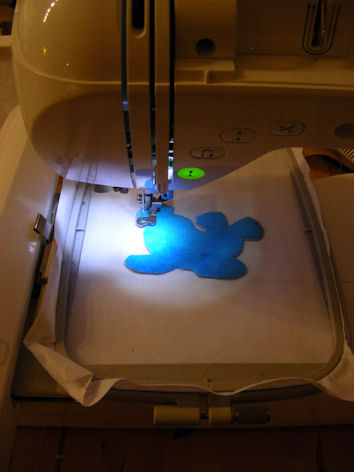
The first thing that will stich out is another dieline. Spray your piece of fabric with temporary spray adhesive and put it onto the dieline. You might want to take the hoop from the machine for that, but you can try it without.
The next colour that stiches out is the tack down stich that fixes the fabric onto the stabilizer. After this you might consider sticking another bit of tear away to the back because the tear away is by now pretty much perforated.
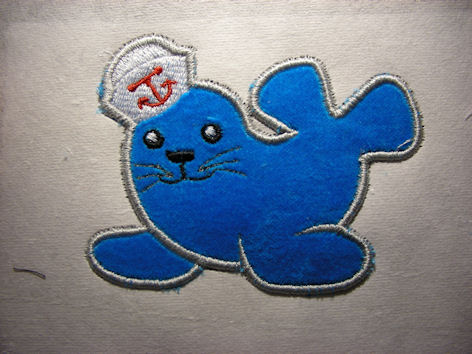
And really, I mean carefully. You don't want to cut into the satin stich and watch the whole thing fall apart.
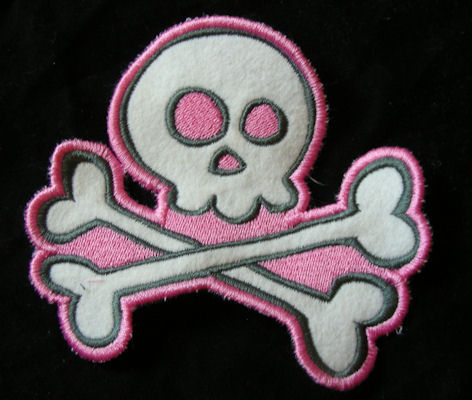
So, here you go:

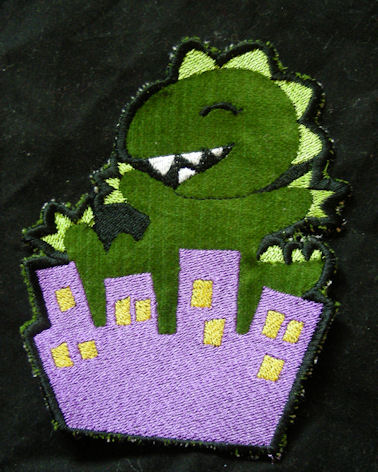
You can use the same technique for other designs that are not applique designs but that do have a satin stich running around. You only have to change some of the steps.
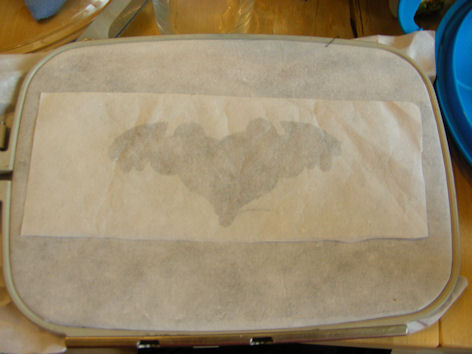
Now, since you don't have a dieline to print out, you have to hoop the whole fabric with tear away:
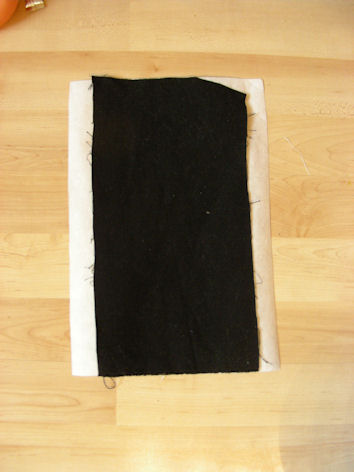
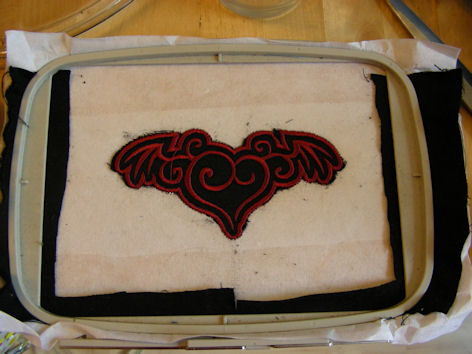
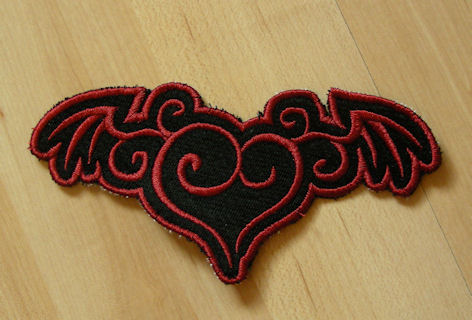
But with a bit of trimming I made it look acceptable:
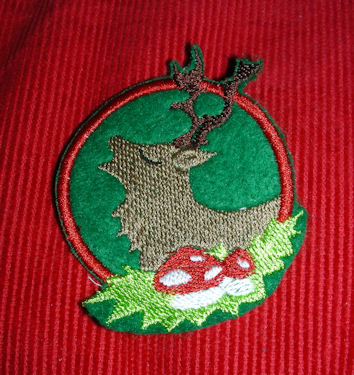
OK, that leaves us with the bazillion designs that are more or less filled and cannot be used that way. But there's still hope and I have 1 word for you: Felt!
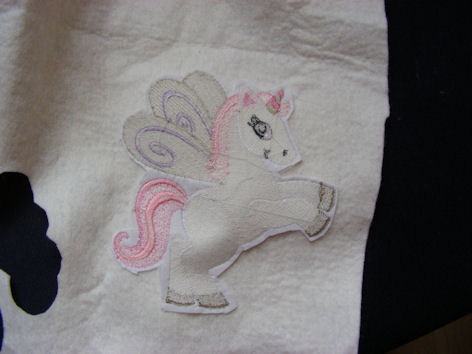
Felt is wonderful. It comes in many colours and takes well to embroidery. Just hoop it with some cut away stabilizer and go. After finishing you can cut away the stabilizer very close to the design:
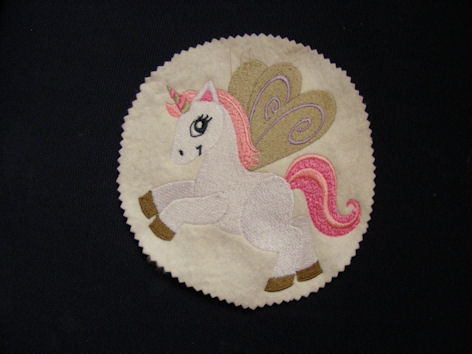
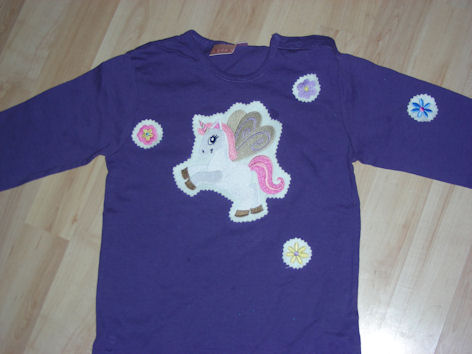
So, happy embroidery!



1 Kommentar:
Danke für das Tutorial :) Ich hab zwar bisher keine Stickmaschine, aber sie wird kommen!
Lg
mellu
Kommentar veröffentlichen