Mittwoch, 19. Januar 2011

Patches Tutorial

Well, the good thing about mistakes is that you don't necessarily have to make them yourself. You can sit back and watch other people make them and then go on and make them all again get things right the first time.
So I thought I'd whip up this tutorial about how to make patches.
Curtesy to my international readers I'll write this in English, so if you have any questions, feel free to ask.

Try as much as you like, some things just won't let you hoop them. Others can be hooped but don't take kindly to the design you want to put on them. But don't despair, there's a solution. Just patch it up.

Some sites like Emblibrary offer designs that were especially designed for patches, but with some tricks you can use a lot of other designs.
Easiest to use are normal applique designs. They've already been designed to be attached to something else. There's only one condition: There has to be a solid line of satin stiches around the design.
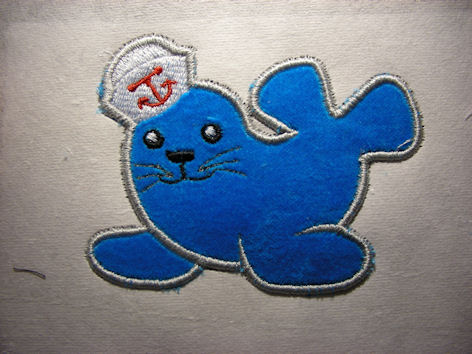
Here's the example form EL we're going to use for our tutorial:
You can work almost like with a normal applique. If you don't know how to do applique, here's the chance to pick that up along the way.
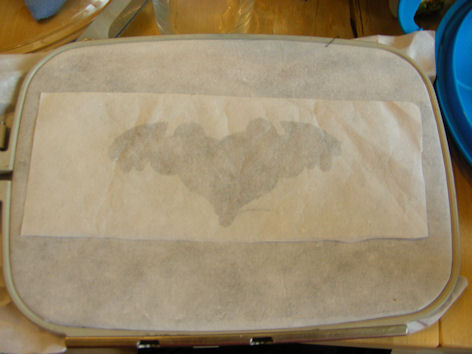
Usually, applique designs come in two files: an actual embroidery file and a file that starts with "DL", the dieline. If you have embroidery software, you can just print it out. If not, load the design into your machine, hoop a piece of paper and embroider the dieline onto the paper. Cut the shape out as a template.
As you can see, in this paper faces the wrong way. It's a good idea to mark top and bottom of your template since not all machines can mirror designs and you might not want the desing to face the other way.
Now, if you're using a heavy fabric you can just skip the next step, but if you're using a light fabric like I'm doing now, you'll want some good cut away stabilizer.

Spray your stabilizer lightly with temporary spray adhesive and smooth your fabric on top. do the same with your template. I prefer to spray the top of my template and stick it on the stabilizer so I have a cute little stabilizer sandwich.
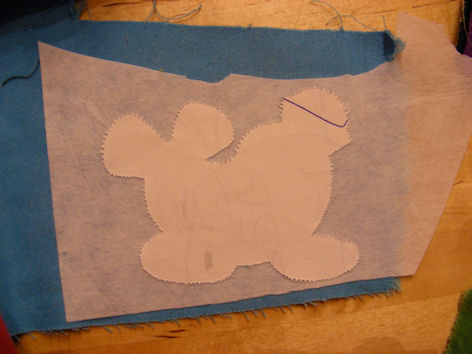
Now cut that out and take off your template again and use it again later. Now load the design file into your machine and get your colours ready. But of course you have to hoop something you can embroider the design onto. There are two possibilities here: EL suggests hooping strong WSS. I'm a miser so I'm going to use tear-away stabilizer.
The first thing that will stich out is another dieline. Spray your piece of fabric with temporary spray adhesive and put it onto the dieline. You might want to take the hoop from the machine for that, but you can try it without.

The next colour that stiches out is the tack down stich that fixes the fabric onto the stabilizer. After this you might consider sticking another bit of tear away to the back because the tear away is by now pretty much perforated.
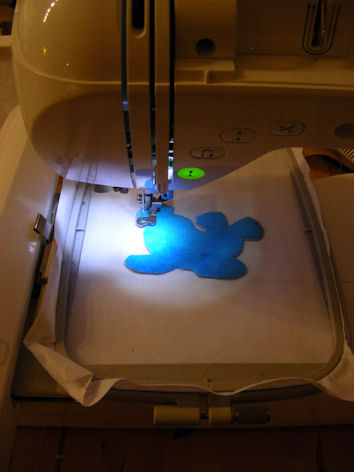
Finish your embroidery as usually.
Take out of the hoop and carefully tear away the stabilizer. Here's the disadvantage of the tear-away: You never get everything off. Try to remove the fibres as good as possible and cut away any excess fabric carefully.
And really, I mean carefully. You don't want to cut into the satin stich and watch the whole thing fall apart.
So, here you go: 
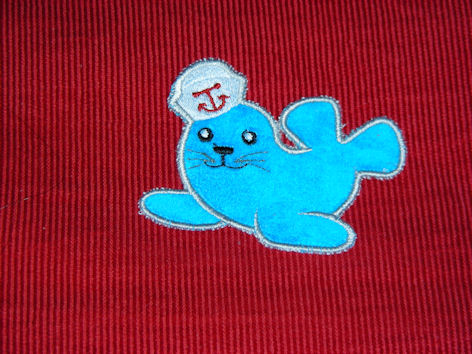
You can use the same technique for other designs that are not applique designs but that do have a satin stich running around. You only have to change some of the steps.

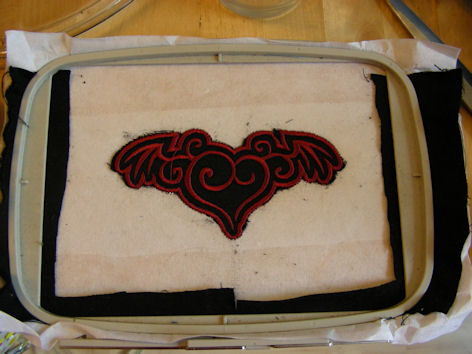
Now, since you don't have a dieline to print out, you have to hoop the whole fabric with tear away:
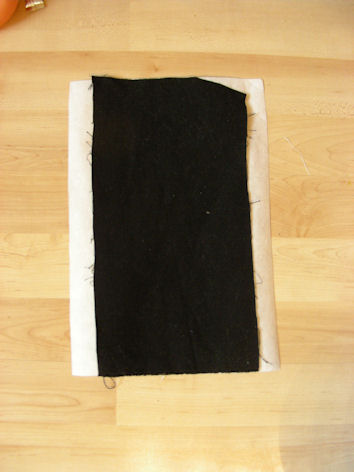
Make sure that the satin stich is the last colour to emboider. If not, skip it in the menu of your machine and come back there later. Now embroider all colours except for the satin stich. Stop the machine and take the hoop off. Without removing the fabric from the hoop, carefully cut the fabric about 1mm around the design. Return to the machine and finish the embroidery.
What did I say about mistakes other people make? As you can see, there's quite some fabric still around the outer line. I din't cut it close enough to the design.
But with a bit of trimming I made it look acceptable:
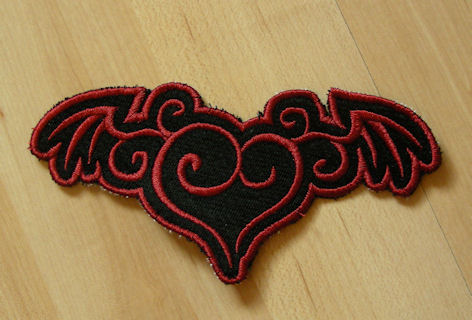


OK, that leaves us with the bazillion designs that are more or less filled and cannot be used that way. But there's still hope and I have 1 word for you: Felt!
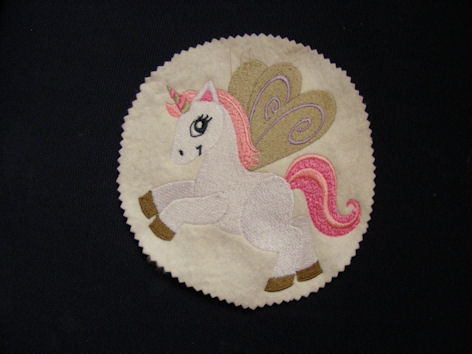
Felt is wonderful. It comes in many colours and takes well to embroidery. Just hoop it with some cut away stabilizer and go. After finishing you can cut away the stabilizer very close to the design:
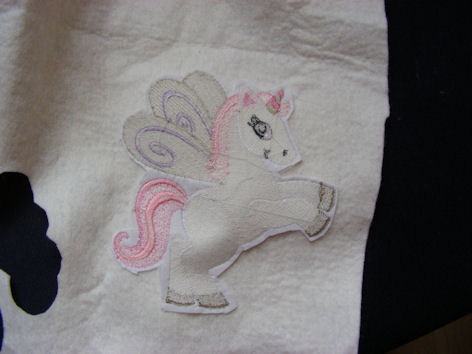
Now you have several options: You can cut out a circle or oval:
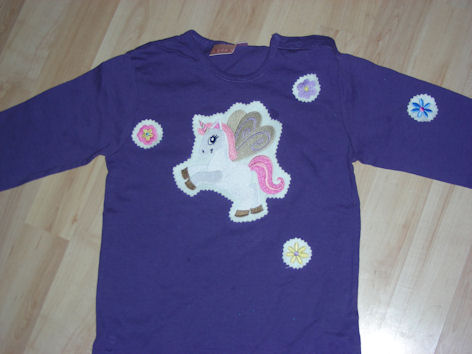
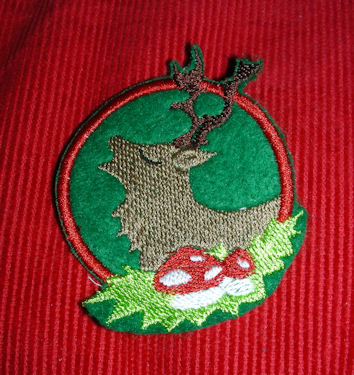
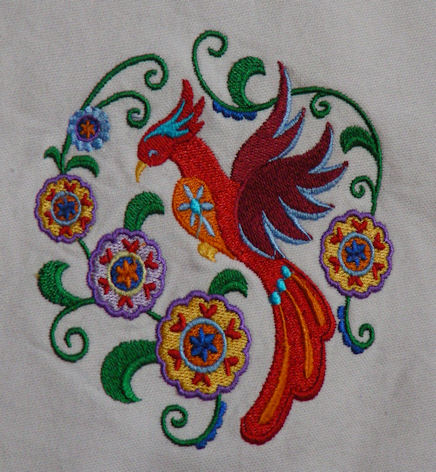
But I prefered to follow the design. You can make a lot of pretty add-ons with that method and embellish almost everything:

So, happy embroidery!
Patch it up!

Für Dinge, die sich einfach nicht besticken lassen wollen:
Aufnäher
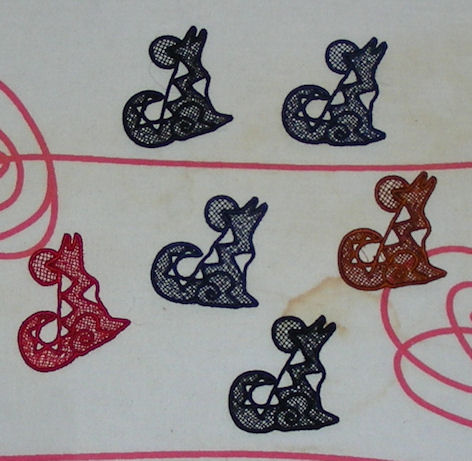
Einmal kleine Wölfe im Spitzenmuster:
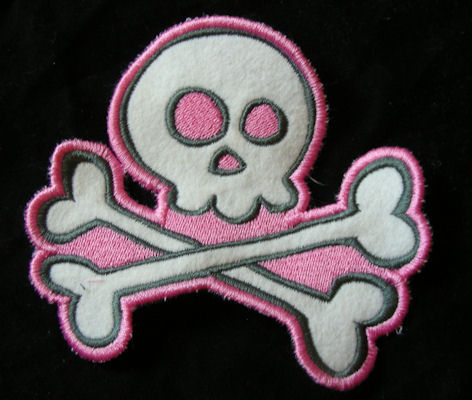
Ein Girlie-Totenschädel (wenn schon makaber dann bitte in zucker-puder-rosa-süß)

Ein fliegendes Herz:


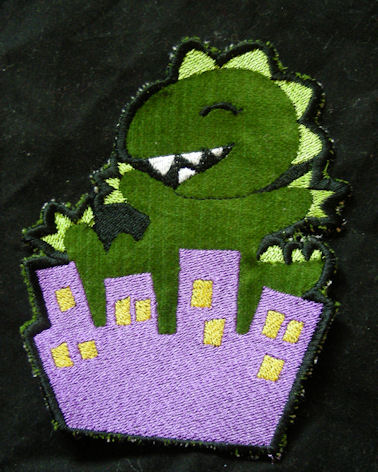
Godzilla hat Ausgang:
Gibt's ab demnächst in meinem Shop oder direkt bei mir.
Dateien: Schädel, fliegendes Herz, Godzilla, Wölfe

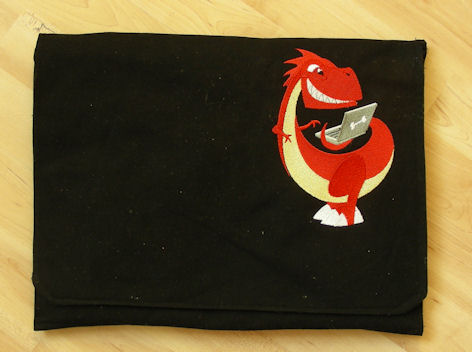
Technosaurus

...oder wie blöde kann man sich bei sowas anstellen?
Mein Laptop, sowieso staub-, krümel und kindergeplagt darf ja jetzt auch mit an die Uni. Zwar in der gepolsterten Laptoptasche, aber irgendwie war mir das zu unsicher. Also schnell mal eine gefütterte Hülle genäht.
Schnell? Mooooooment mal, erst mla geht bei mir ja nichts mehr ohne Stickmotiv, was einen halben Abend in Anspruch nahm. Und dann ist da noch Murphy, das gemeine kleine Biest.
Zuschnitt 1, zu klein. Zuschnitt 2, einmal das Maßband längs um den Schleppi, einmal das Maßband quer um den Schleppi, Nahtzugabe dazurechnen und.....fällt euch was auf? Klar, das ist zu groß. Also nochmal. Dieses Mal war's auch fast richtig. Mit etwas Ziehen und Zerren geht der Schleppi rein.
Merke: Vorne ist der Schleppi flacher als Hinten.
Ich schätze, das wird sich dann noch dehnen.
Stickmuster: Technosaurus von EL

Montag, 17. Januar 2011

Fertig, aber wirklich

Gewaschen, gebügelt, geflickt.
Ja, die Folkloreexplosion war schon kaputt, bevor sie richtig fertig war.
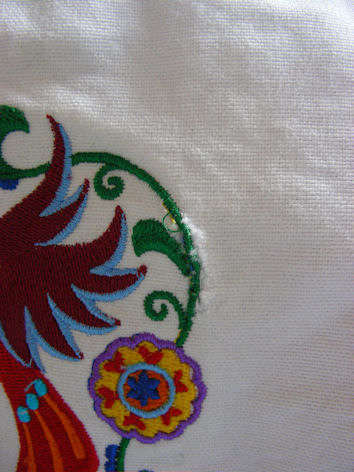
Nach dem Waschen stellte ich nämlich an einer Stelle ein Aaaaaaaaaargh fest. Die Maschine hat aus mir völlig unbekannten Gründen heraus an einer Stelle den Stoff gefressen, was aber vor dem Waschen unter dem Soluvlies verborgen war.
Da habt ihr es, das Aaaaaaaaaaaaaargh:

Da es "wenigstens" an einer Stelle mit Satinstich passiert ist konnte ich es recht gut "vertuschen", nämlich mit noch breiterem Satinstich und Vlies von hinten. So wurde aus einer zarten filigranen Ranke eine dicke Liane, aber es geht:
Hier sieht man übrigens schön, warum ich bei solch groben Stoffen gerne Stickvlies obendrauf packe: Die Nadel rutscht nicht so leicht in die Zwischenräume und das Stichbild wird einfach sauberer.

Damit will ich aber auch die Katastrophen abhaken und mich über das insgesammt gelungene Gesammtensemble freuen. Und weil ihr sicher auch schon darauf wartet, hier die Bilder:
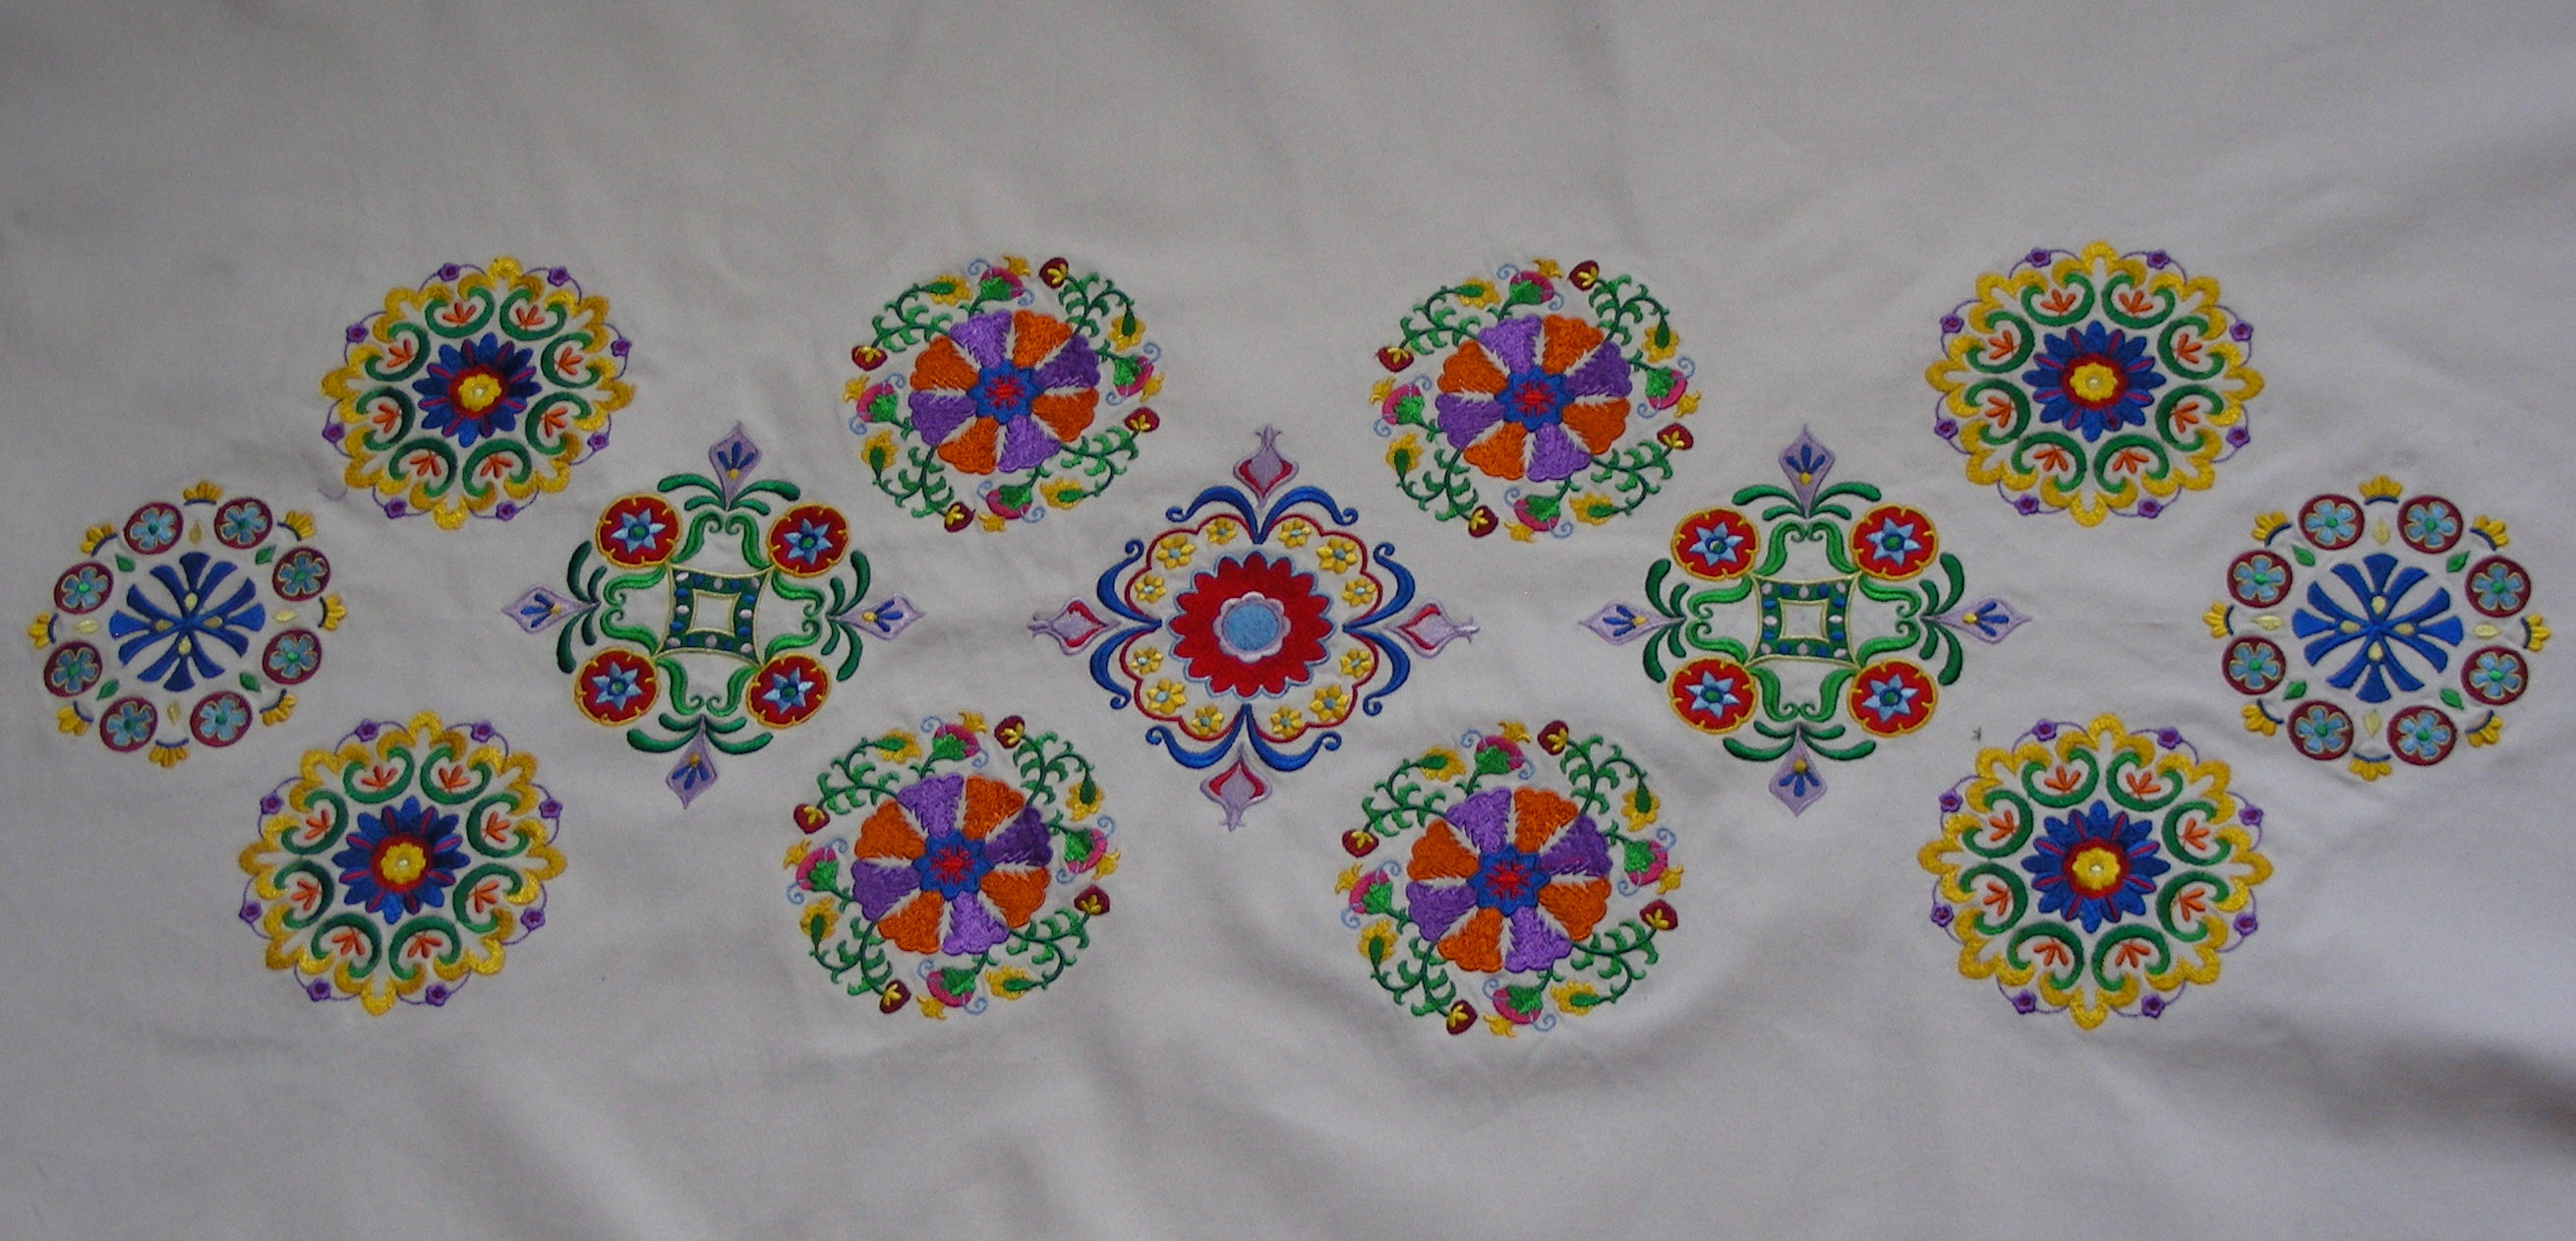
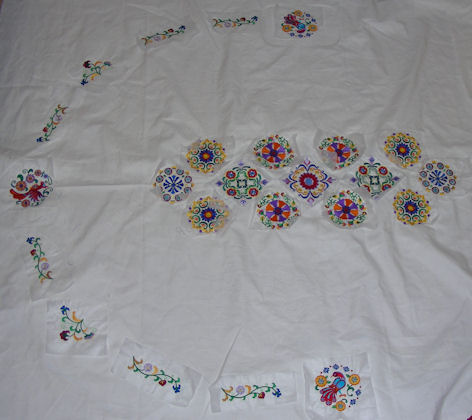
Einmal im Ganzen. 2m x 1,4m für Mamas Küchentisch.

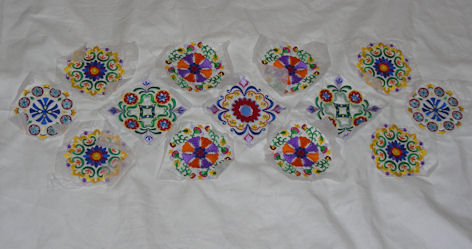
Das Mittelmotiv. Im Nachhinein hätte ich nicht mehr 5 verschiedene Muster genommen, aber im Nachhinein ist man immer schlauer....


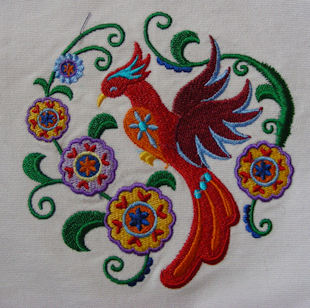
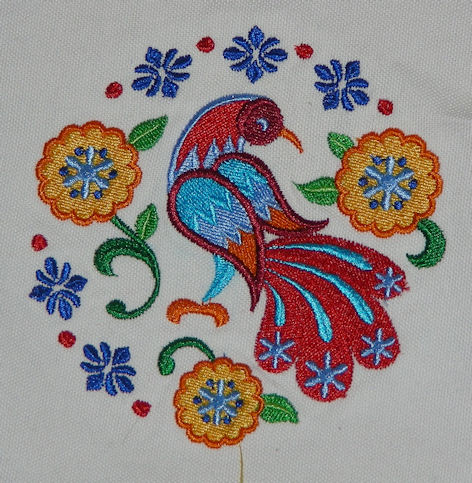
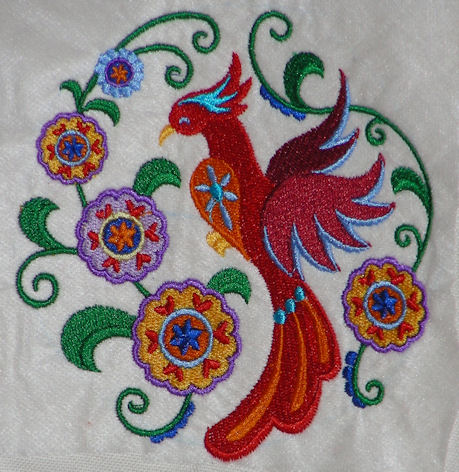
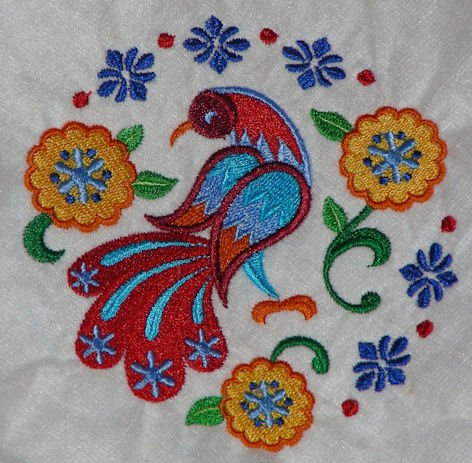
Und zum Schluss die Feuervögel, die am Rande wachen.
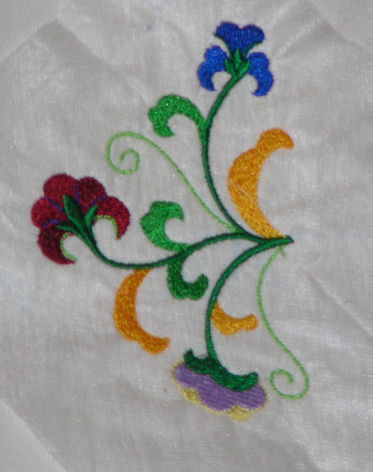
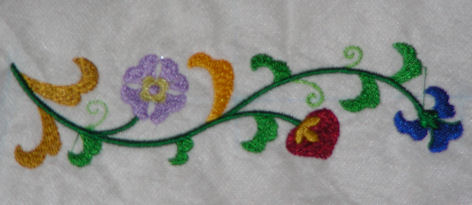
Alle Designs stammen aus den beiden Serien Classic Suzani und Stylin' Suzani von Embroidery Library.

Mit gutem Beispiel voran

Ab sofort werd ich immer ganz fleißig zu allen verwendeten Designs verlinken. Nein, ich krieg leider kein Geld oder wenigstens gratis Stickmuster für's Werbung machen. Ich hab nur grade beim Blog-Hopping festgestellt, dass ich es nervig finde, wenn ich irgendwo ein ganz tolles Stickmotiv sehe und die Autorin mir nicht verrät, wo es herkommt. Also will ich selbst ab mit gutem Beispiel vorangehen und es immer brav dazuschreiben. Außerdem, wenn ein Produkt gut ist, warum es dann nicht weiterempfehlen?

Sonntag, 16. Januar 2011

Fertig!

Ich hab's geschafft. Der letzte Stich am Folklorewahnsinn ist getan, das Schrägband ist dran.
Bilder gibt's aber erst wieder, wenn das Ding gewaschen, getrocknet und gebügelt ist.
Aber einen kleinen Trick will ich euch verraten, der mir gekommen ist. Vielleicht ist es auch ein uralter Trick, den ich in meiner Abgeschiedenheit nur nicht kenn. Aber dann kennen ihn auch andere vielleicht nicht.
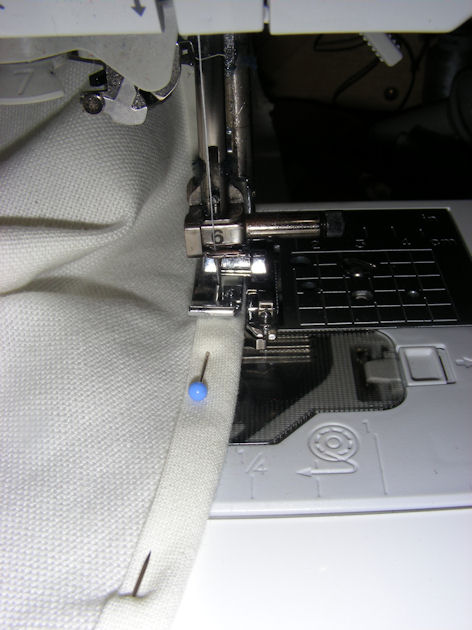
Also, ich geb's zu, ich bin eine kleine Schludertasche. Beim Nähen immer so ganz gerade die Linie zu halten macht mir hin und wieder Probleme.
Also hab ich zum Annähen des Schrägbands den Overlockfuß genommen. Der hält das Schrägband immer schön im gleichen Abstand zur Nadel, selbst bei mir Chaos-Kind :)

Mittwoch, 12. Januar 2011

Trostpflästerchen

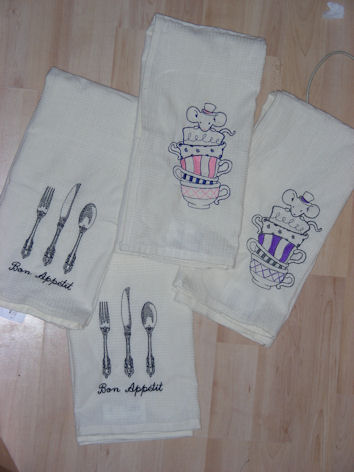
Nachdem ich mit der Tischdecke gerade im Clinch liege hab ich beschlossen sie ein wenig zur Seite zu legen, über Lösungen zu brüten und was "Idiotensicheres" zu machen.
4 Geschirrtücher von Ikea, mit Motiven von Urban Threads, einfach mal auf Vorrat wenn ich mal ein schnelles Geschenk brauche:

Samstag, 8. Januar 2011

Feuerwerk im Folkloremuseum

Nachdem das Ganze ja im Dezember Zwangspause hatte, hab ich nun das neue Jahr wieder durchgestartet und die Maschine rattern lassen.
Und ich nähere mich auch dem Ziel, das Mittelstück und die eine Seite der Randborte sind fertig.
Da es nun ein wenig symetrischer ist sieht es auch nicht mehr so sehr nach Explosion aus und gefällt mir zunehmend besser.
Nannerl hat sich übrigens als Prophetin erwiesen:
Deine Kids werden die Tischdecke lieben, bist Du Dir sicher, dass die Decke zur Oma darf?
Tja, die Große meinte schon: "Für wen ist das?"

Ich: "Für die Oma Karin"

Sie: "Ich brauche aber doch auch noch eine Tischdecke für meinen Tisch!"
Aber nix da, die ist für Mama :)

So, vermutlich wollt ihr jetzt auch Bilder, oder?
Hier die bisherige Gesammtansicht. Langsam kann man erkennen, dass das Ganze mal oval wird. Was da so "absteht" ist das Soluvlies, das ich immer obendrauf packe und noch nicht ausgewaschen ist.

Das komplette Mittelteil

Vogelmotiv Stirnseite
 
 Vogelmotiv Breitseite

Eckmotiv Borte

Borte

Mittwoch, 5. Januar 2011

Angefixt

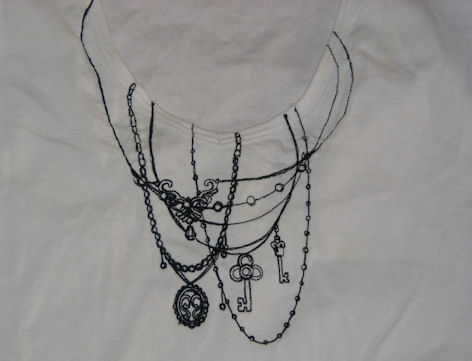
Letzte Woche kam ich zwischendurch mal dazu ein weißes Shirt von mir ein wenig aufzumotzen, also hab ich ein Romantic-Gothic-Steampunk-Ketten-Schlüssel-Motiv aufgestickt. Die Große schaut mir zu, schau das fast fertige Shirt an und fragt, was ich mache.
"Ein T-Shirt für mich"
Antwort: "Das will ich auch!"
Hier das Ganze im fertigen Zustand und ungebügelt.


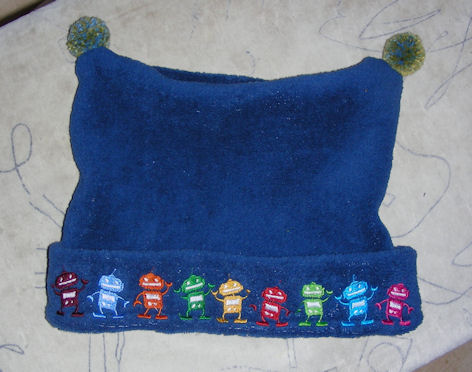
Und noch eine Kleinigkeit, die ich für den Sohn meines Großcousins gemacht hab: